

Plant care with plants at home or in the garden is a whole different thing from just watering and letting them get the sun. One of the most essential parts of plant care is repotting plants. Similarly, as people require more space to grow, plants still need new soil and bigger pots to maintain their growth.
This job may seem a bit frightening at first, but with the right information, it becomes a piece of cake and even a pleasure. This guide will help you understand the basic aspects of repotting, tell you why it is important, and how you can do it effectively.
Plants are always growing roots, and after a period, they are capable of taking over the whole pot. At such a point, the wiggle room for the roots decreases, and hence the plant may stall. Changing pots allows the roots to extend, enhances the soil quality, and gives the plant easier access to the nutrients.
New soil also gives better oxygen and water flow. This easy move can bring back a plant that seems weak or has delayed growth. In short, changing the pot of plants gives them the chance to stay alive and to grow beautifully.
Quite a few people wonder when to repot a plant. It is not always necessary to do it yearly, but certain signs will prompt you that the time has come:
When these symptoms appear, they serve as gentle hints that your plant might be looking for a new place to stay.
Repotting without following the correct repotting guide, choosing the right pot first would still be the best decision. Always use a pot whose diameter is 1-2 inches bigger than the current one for it. Pots that are very big can make the soil hold more water than necessary and thus the roots may rot.
Ensure that the pot you select has holes for drainage so that the roots do not rot. Besides this, there are pots made of clay, ceramic, or plastic to suit the different preferences of people and types of plants.
Equipped with supplies, the job of repotting can be done faster and easier. Some basic tools for repotting that one cannot do without are:
These items make the plant safe to move, and no unwanted mess will be created.
Now we take a beginner-friendly, simple step-by-step repotting guide.
Spread some new soil at the bottom of the new pot. This makes it possible for the roots to start their new journey with a fresh base when you put the plant in a new place.
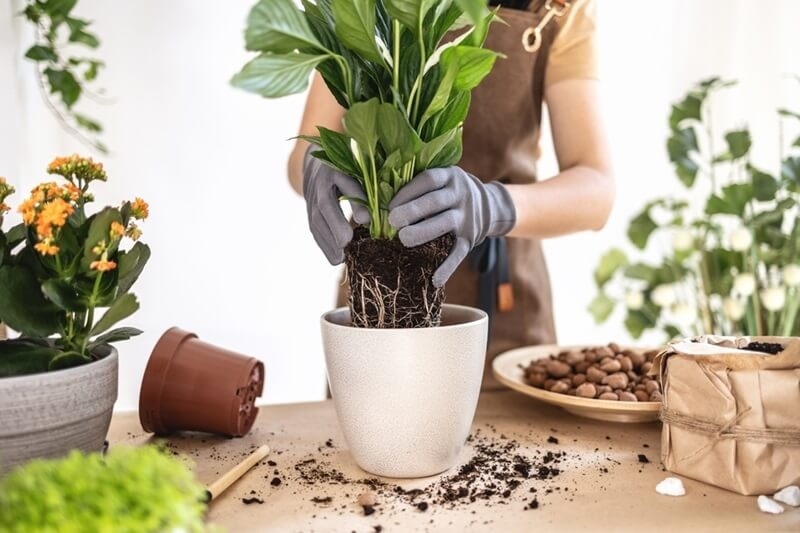
Carefully grab the plant at the bottom and turn the pot sideways. To loosen the soil, gently tap the pot on a hard surface. In case the plant is fixed, you can assist the removal by running a knife or spatula along the edges to free it.
On removal, gently separate the roots with your bare hand. In case the roots are coiled around the base (root-bound), cut them a bit with sterilized scissors. Thereby stimulating new growth.
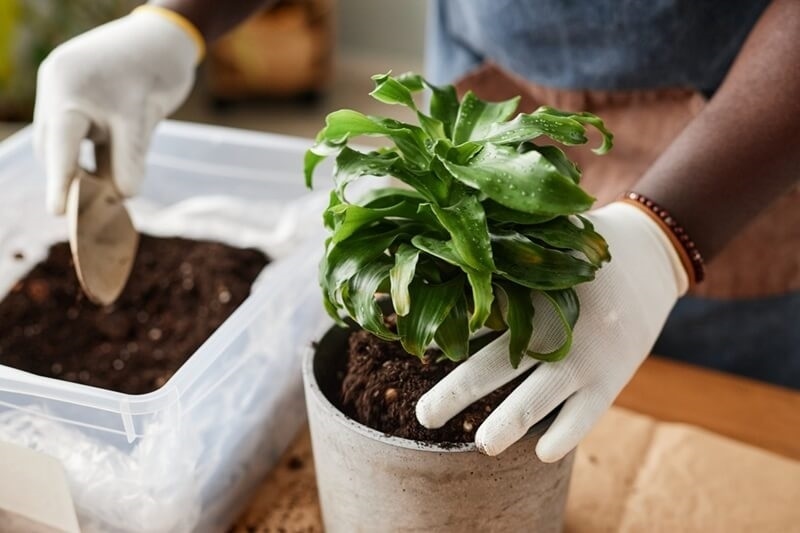
The plant needs to be placed centrally in the new pot. Ensure that the plant is at the same level as it was previously and that it is not too deep.
Put soil into the pot until it reaches the top, and give it a light pressing to remove air bubbles. However, do not press it too hard as tight soil will reduce oxygen flow.
Irrigate the plant thoroughly after the fill-up. The water helps the roots to relax in the new space. Take the pot to a spot where it gets the right amount of light and allow it to acclimate.
This method makes it much easier to re-pot houseplants without injury.
A newbie’s biggest fear is probably the killing of the plants because of the repotting process. However, with kindness, patience, and gentle handling, repotting houseplants without damage is possible. Always use one hand to hold the base of the plant; do not yank it out forcefully, and treat the roots gently.
In the case of breaking a few small roots, do not be alarmed - in fact, most plants will heal quickly if proper care is provided shortly afterwards.
Even though repotting is simple, beginners often make some errors. Here are a few repotting mistakes to avoid:
You can avoid these points, which will help you keep your plants stress-free and allow them to grow in their new home.
Repotting is not just a procedure where a plant is put in a different container. Aftercare is essential. Remember:
If you are patient, your plant will soon look better and be more vibrant.
It is possible that there are several times when you should leave the plant alone. A couple of species might be better off if they are a bit root-bound. Those plants that get better from being in a more cramped position are orchids, African violets, and succulents.
Furthermore, if your plant looks weak and is stressed out by diseases or pests, you should wait to repot it and let it recover first. It is a safer option to allow time for a plant to grow stronger before a change takes place, so that it can effectively undergo the transformation and make a proper adaptation to the new surroundings.
At first, repotting can seem complicated, but you will soon realise that it is rewarding. By just following a step-by-step repotting guide, using the right repotting tools, and doing it at the proper time, you can make your plants’ lives better and let them flourish.
Gradually, you will be more and more conversant with house plants repotting without injurious incidents, and hence your indoor garden will flourish and be beautiful in return for you.
This content was created by AI